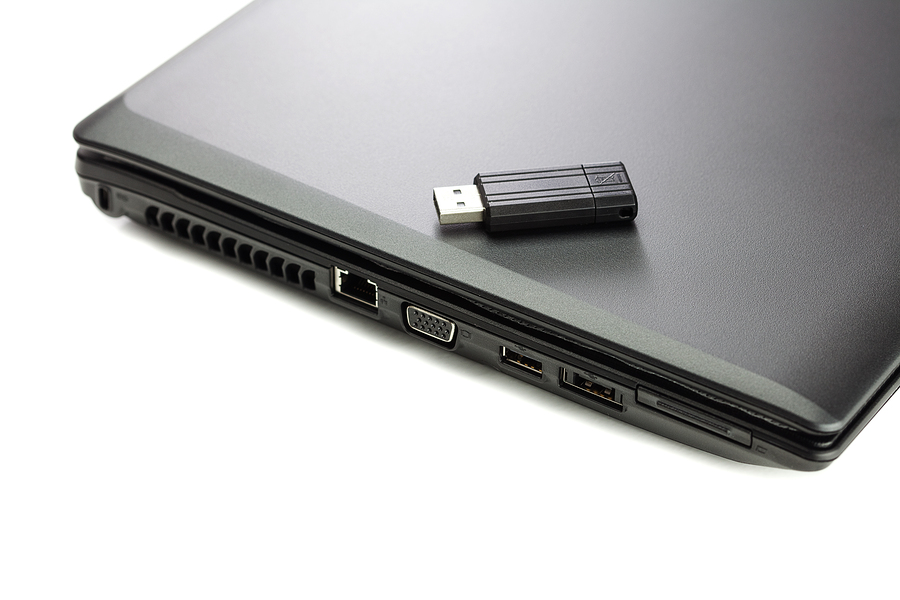
Let’s start from the beginning: What is a bootable USB Drive and why do you want one? Two very good questions. A bootable USB drive is a memory stick that contains an operating system that is ready to load. Why do you want one? Probably for one of two reasons.
- You have a brand new computer (lucky you!) and you want to install your favorite version of Windows onto it.
- Your computer has been infected by malware so destructive that the only way to save it is to wipe it and start over (unlucky you).
Essentially, you use a bootable USB drive to recover a failed system when the operating system on the hard disk can’t load.
Here’s what you need to know before you get started:
- The operating system on your bootable thumb drive doesn’t have to be exactly the same as on the hard disk, but it does have to support the file system on the hard disk so the hard disk files can be repaired.
- The operating system on the bootable USB drive has to have the right software drivers for recovery.
- The computer you use your bootable USB drive in has to be capable of booting to a USB drive – the good news is that most computers built post-Windows Vista can do this.
- You need a flash drive that is at least 4 GB in size to store the necessary files.
If you’re trying to make a Windows XP or Windows 7 USB bootable drive, you’re in luck – it has an official USB tool just for the job called WinToFlash. That’s what we’ll be discussing today.
Have ready:
- A USB flash drive of at least 4 GB
- A Windows installation CD, DVD or .iso disc image file
- An application called WinToFlash (download at www.wintoflash.com)
Get Started:
- Insert your Installation CD, but don’t do anything else with it yet.
- Download WinToFlash and save it on your computer. Extract the files to an appropriately named folder.
- Click on the WinToFlash application folder.
- Click the green check mark to start the setup wizard.
- When prompted, enter the path to the CD drive containing your Windows Installation CD. Then enter the path to the USB drive. Click “Next” and you’ll see the windows license agreement. Accept and continue. Wait for the Wizard to transfer over the Windows Setup to USB drive. Click “Next” and exit.
Boom! You’re done. Now for the advanced part of the tutorial:
Take a piece of tape and a permanent marker and LABEL your new bootable USB Drive.
What problems have you had creating a bootable USB drive? Post them in the comments!